Add an Image
Step 1: Select the Image Location
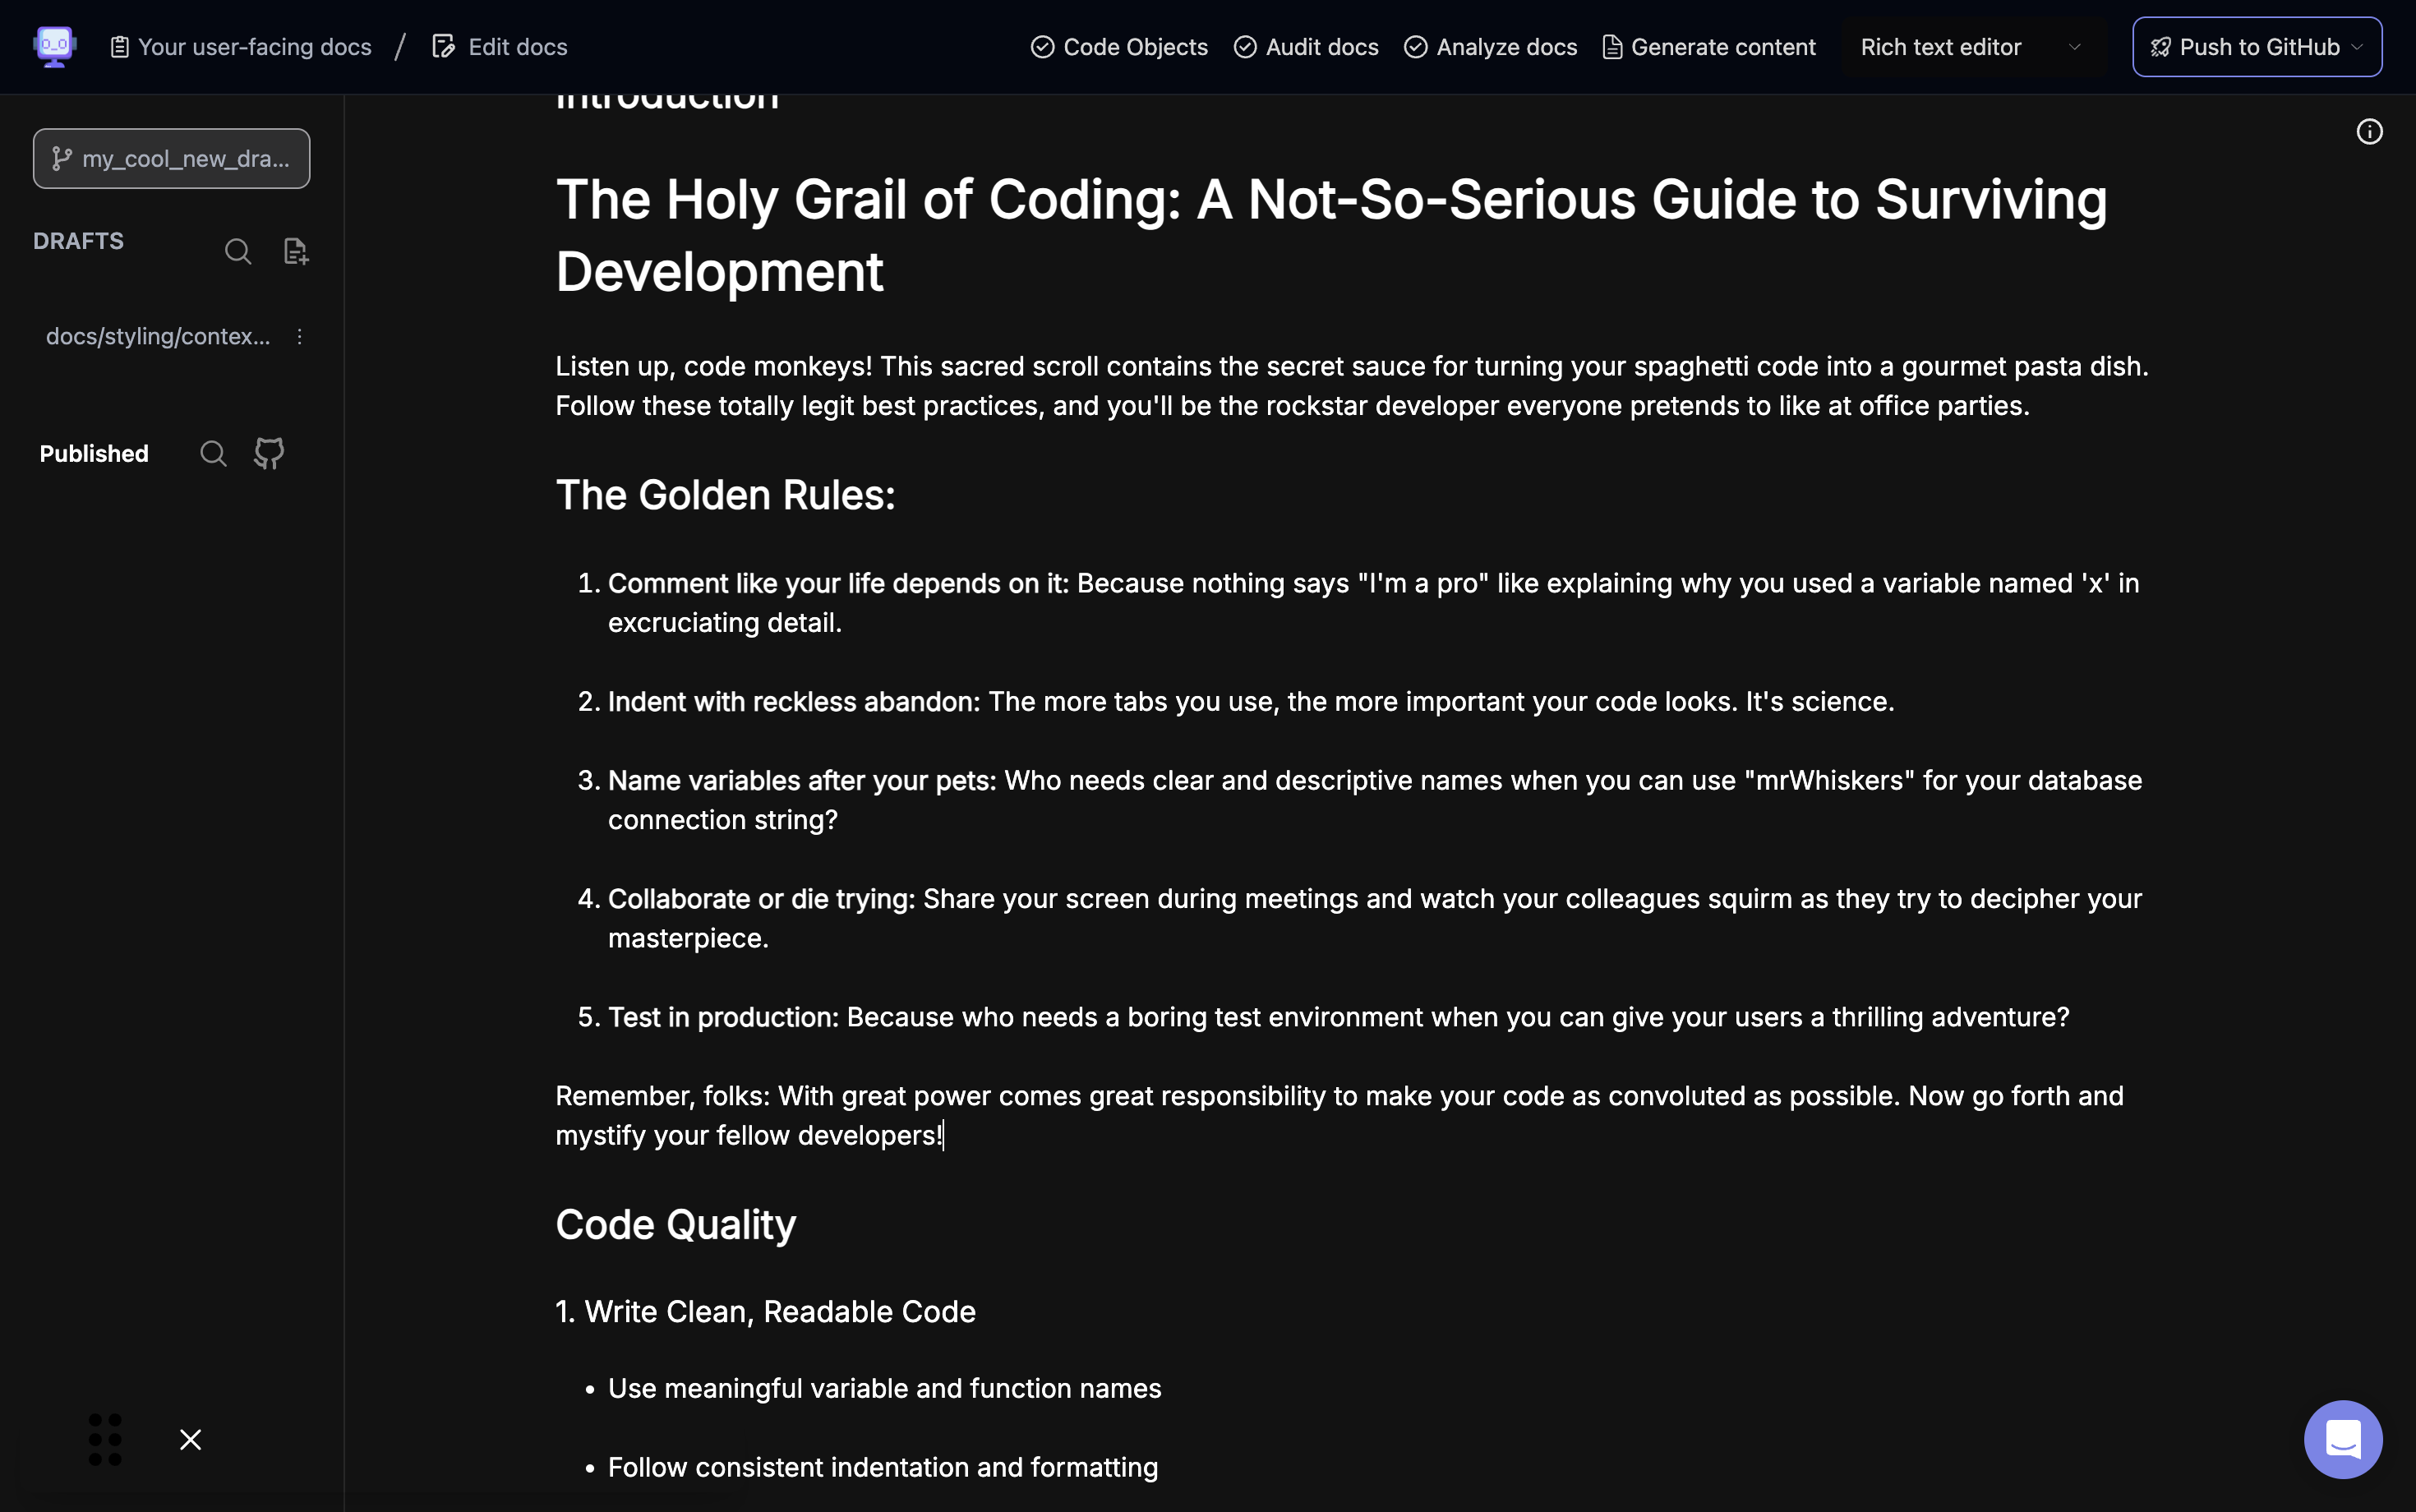
Position your cursor where you want to add the image in your document.
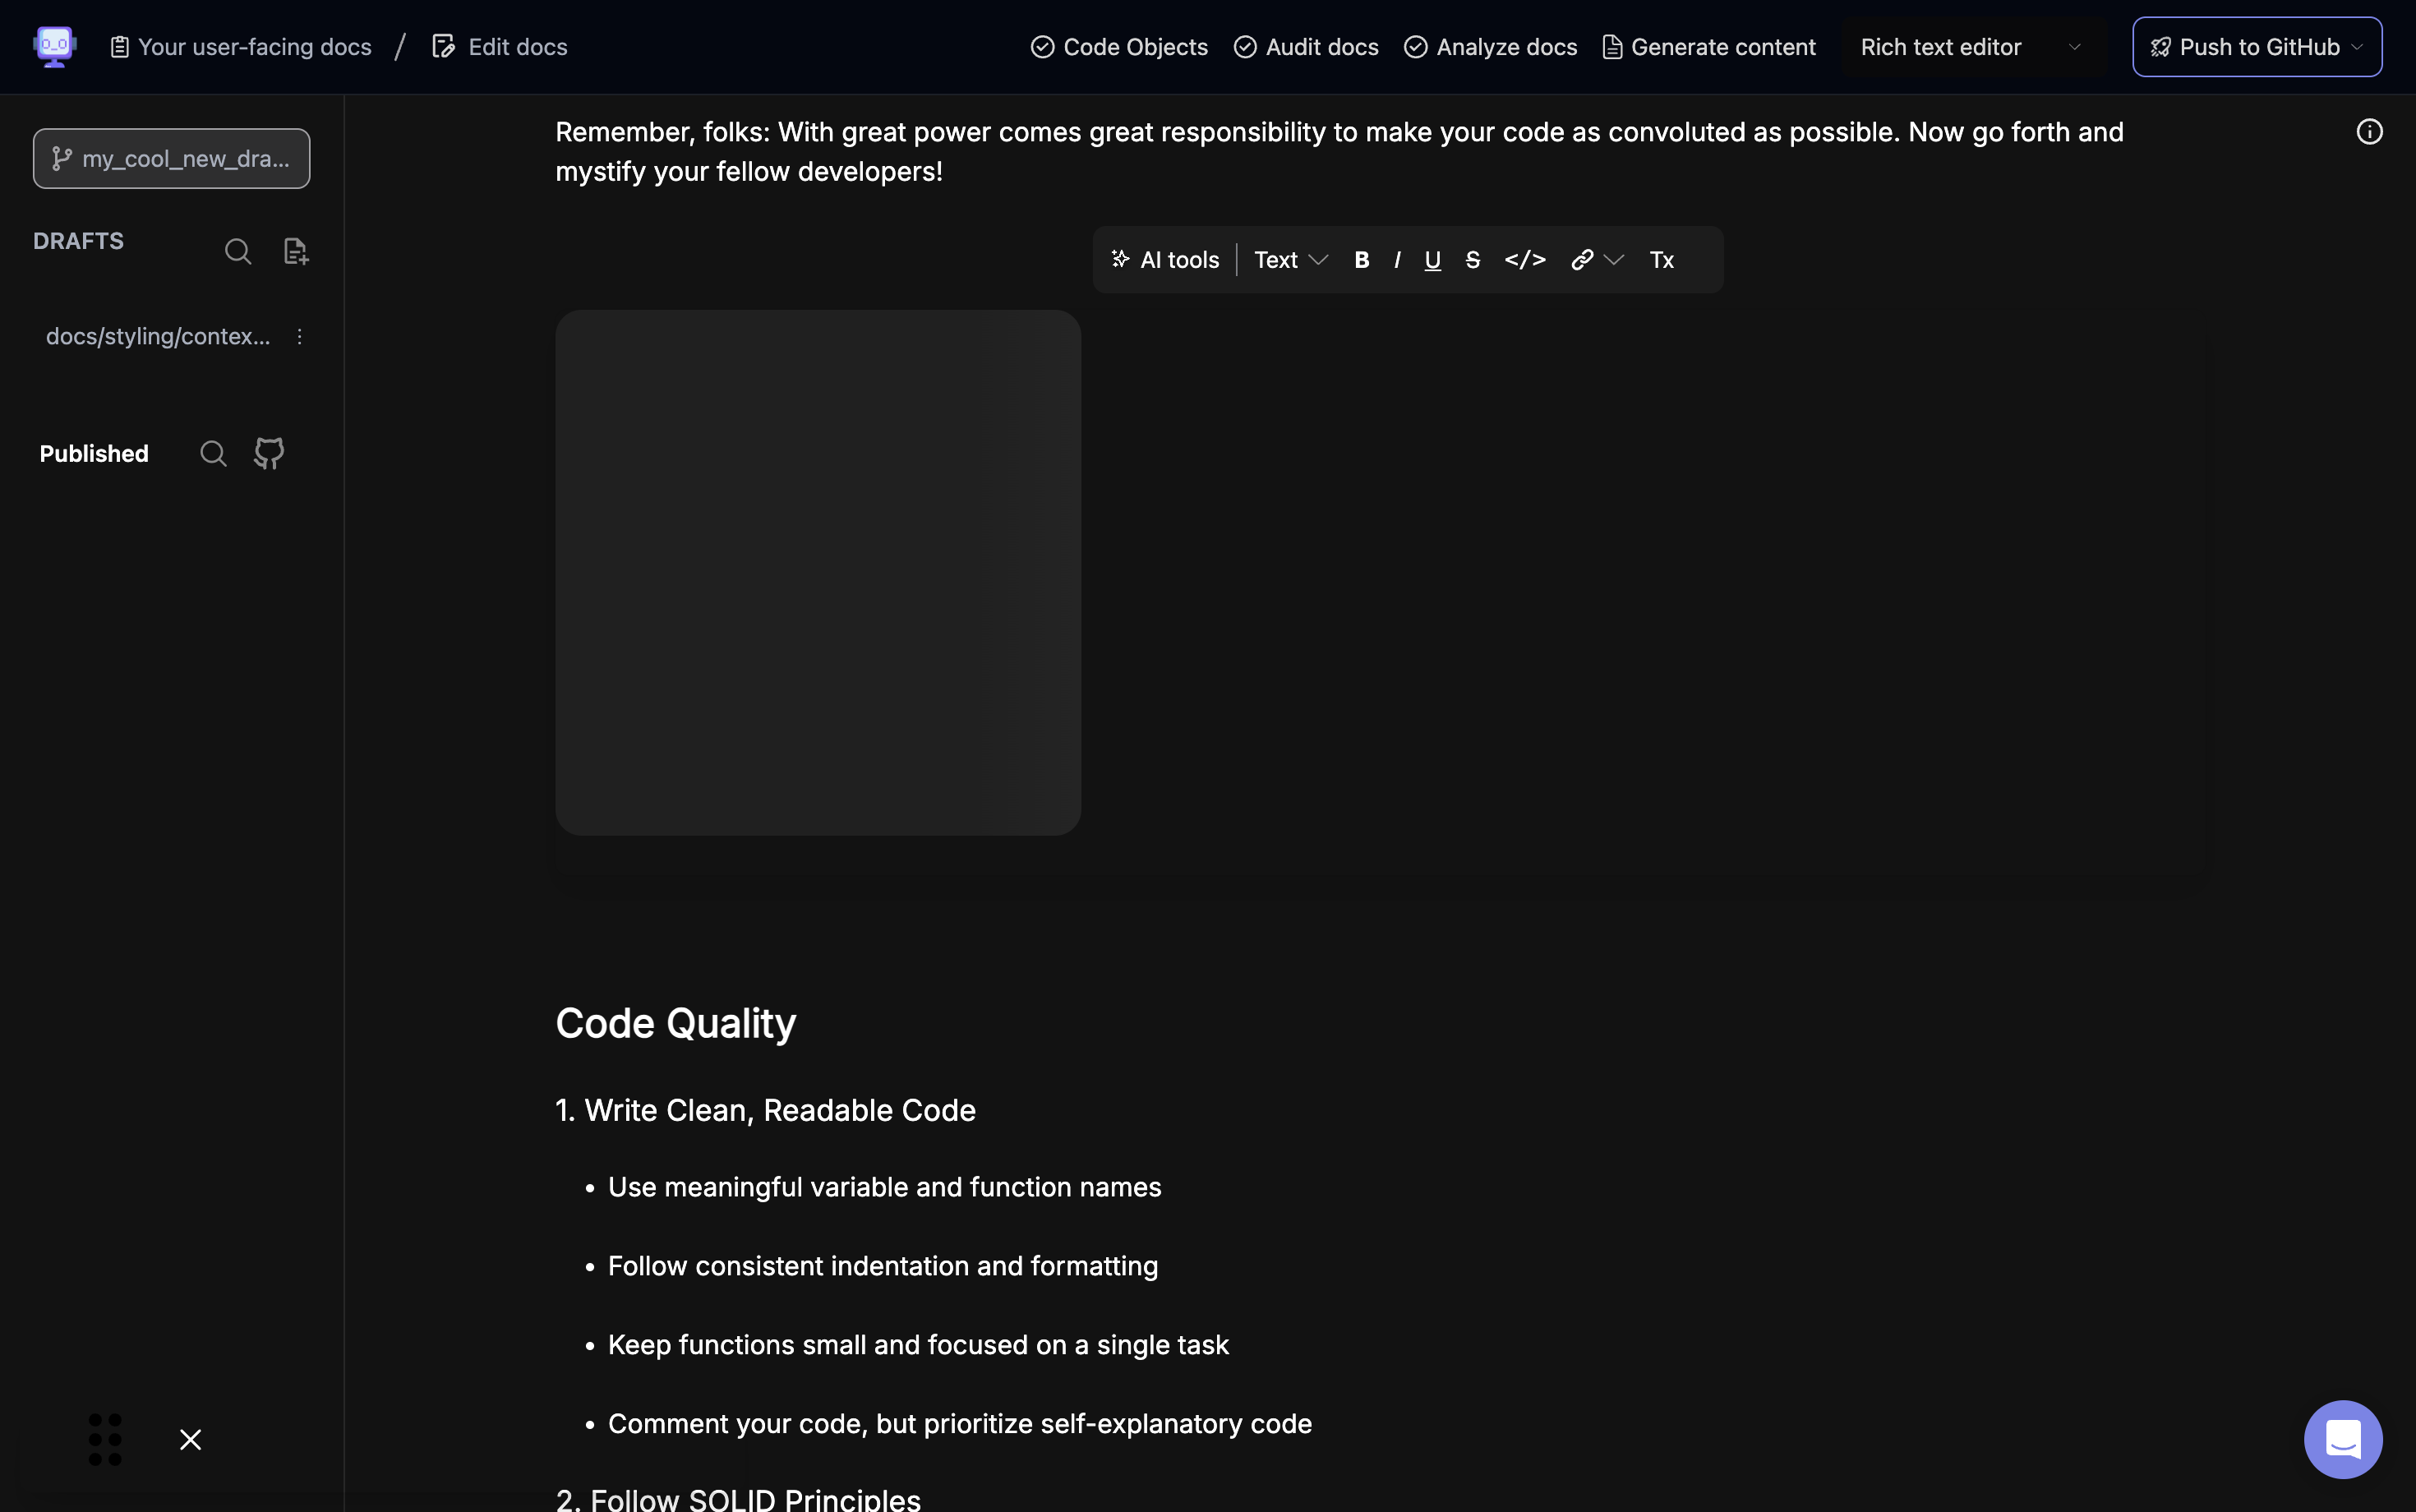
Step 2: Access Formatting Options

Click on the "+" icon to open the formatting options menu.
Step 3: Choose "Add Image" from Menu

Select the "Add Image" option from the formatting menu.
Step 4: Open Image Upload Dialog

The image upload dialog will appear, showing options for folder location and image name.
Step 5: Specify Image Folder Location
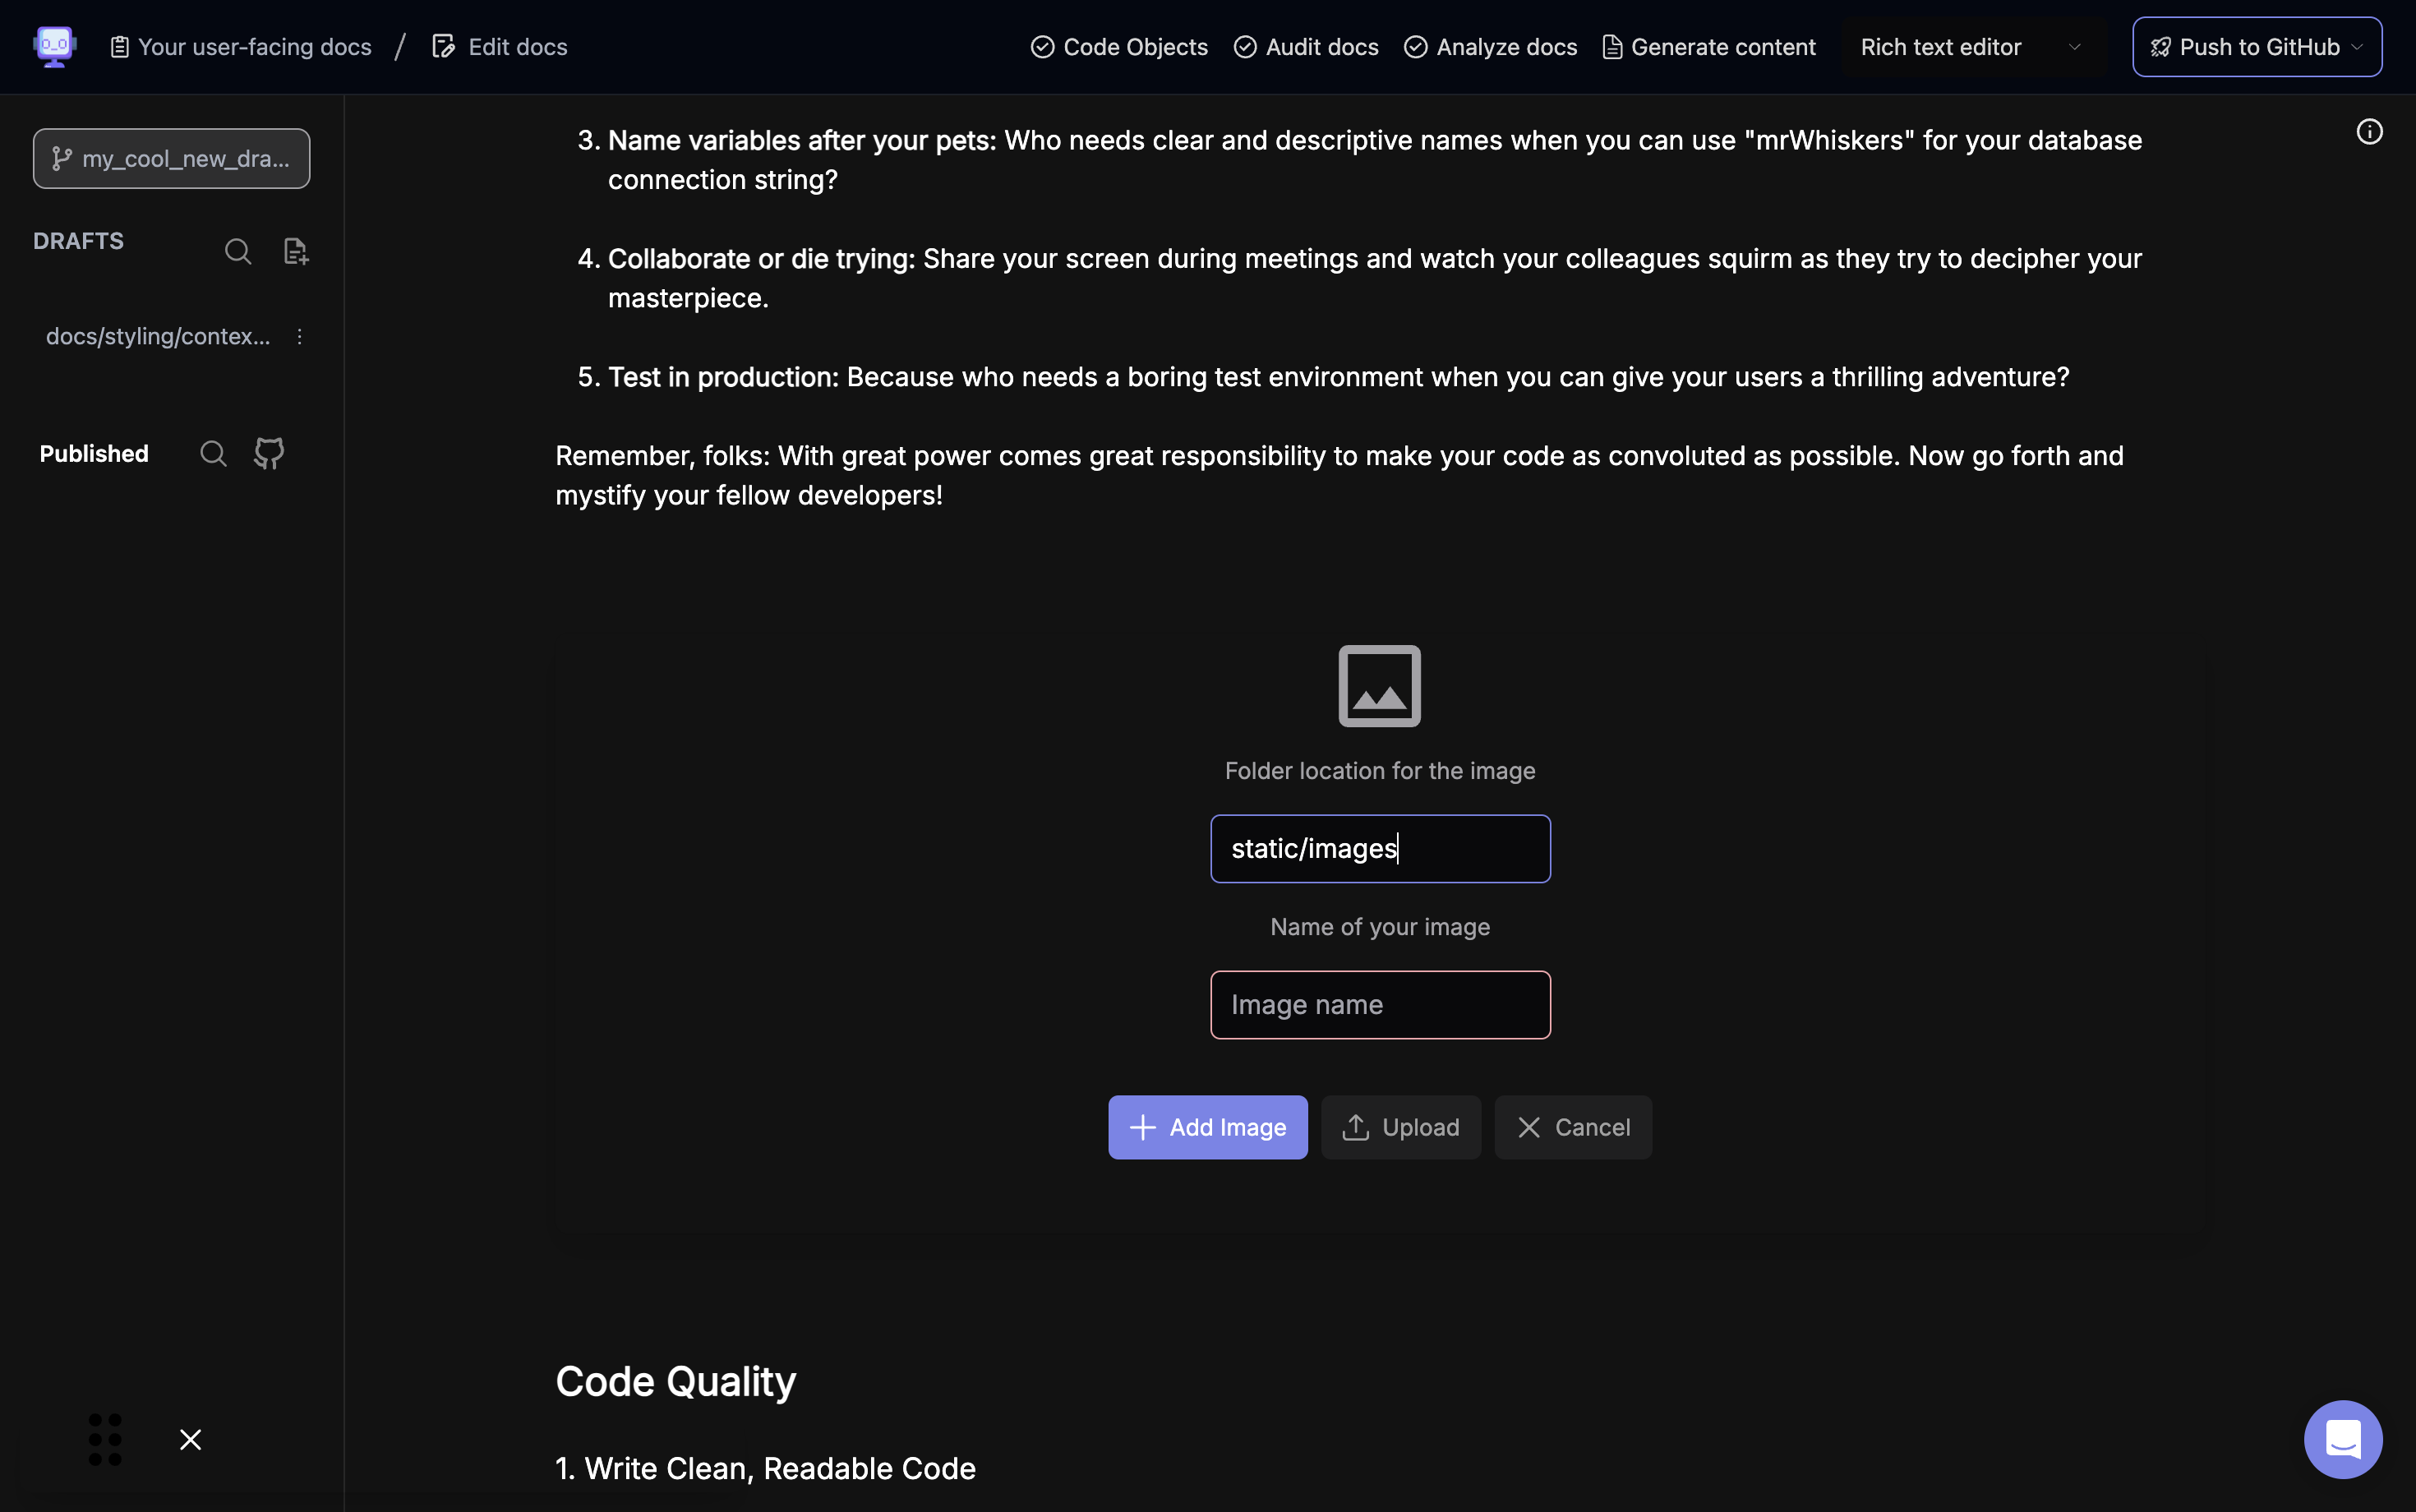
Enter the folder location where you want to store the image, e.g. "static/images".
Step 6: Name Your Image

Type in a name for your image in the "Name of your image" field.
Step 7: Initiate Image Upload
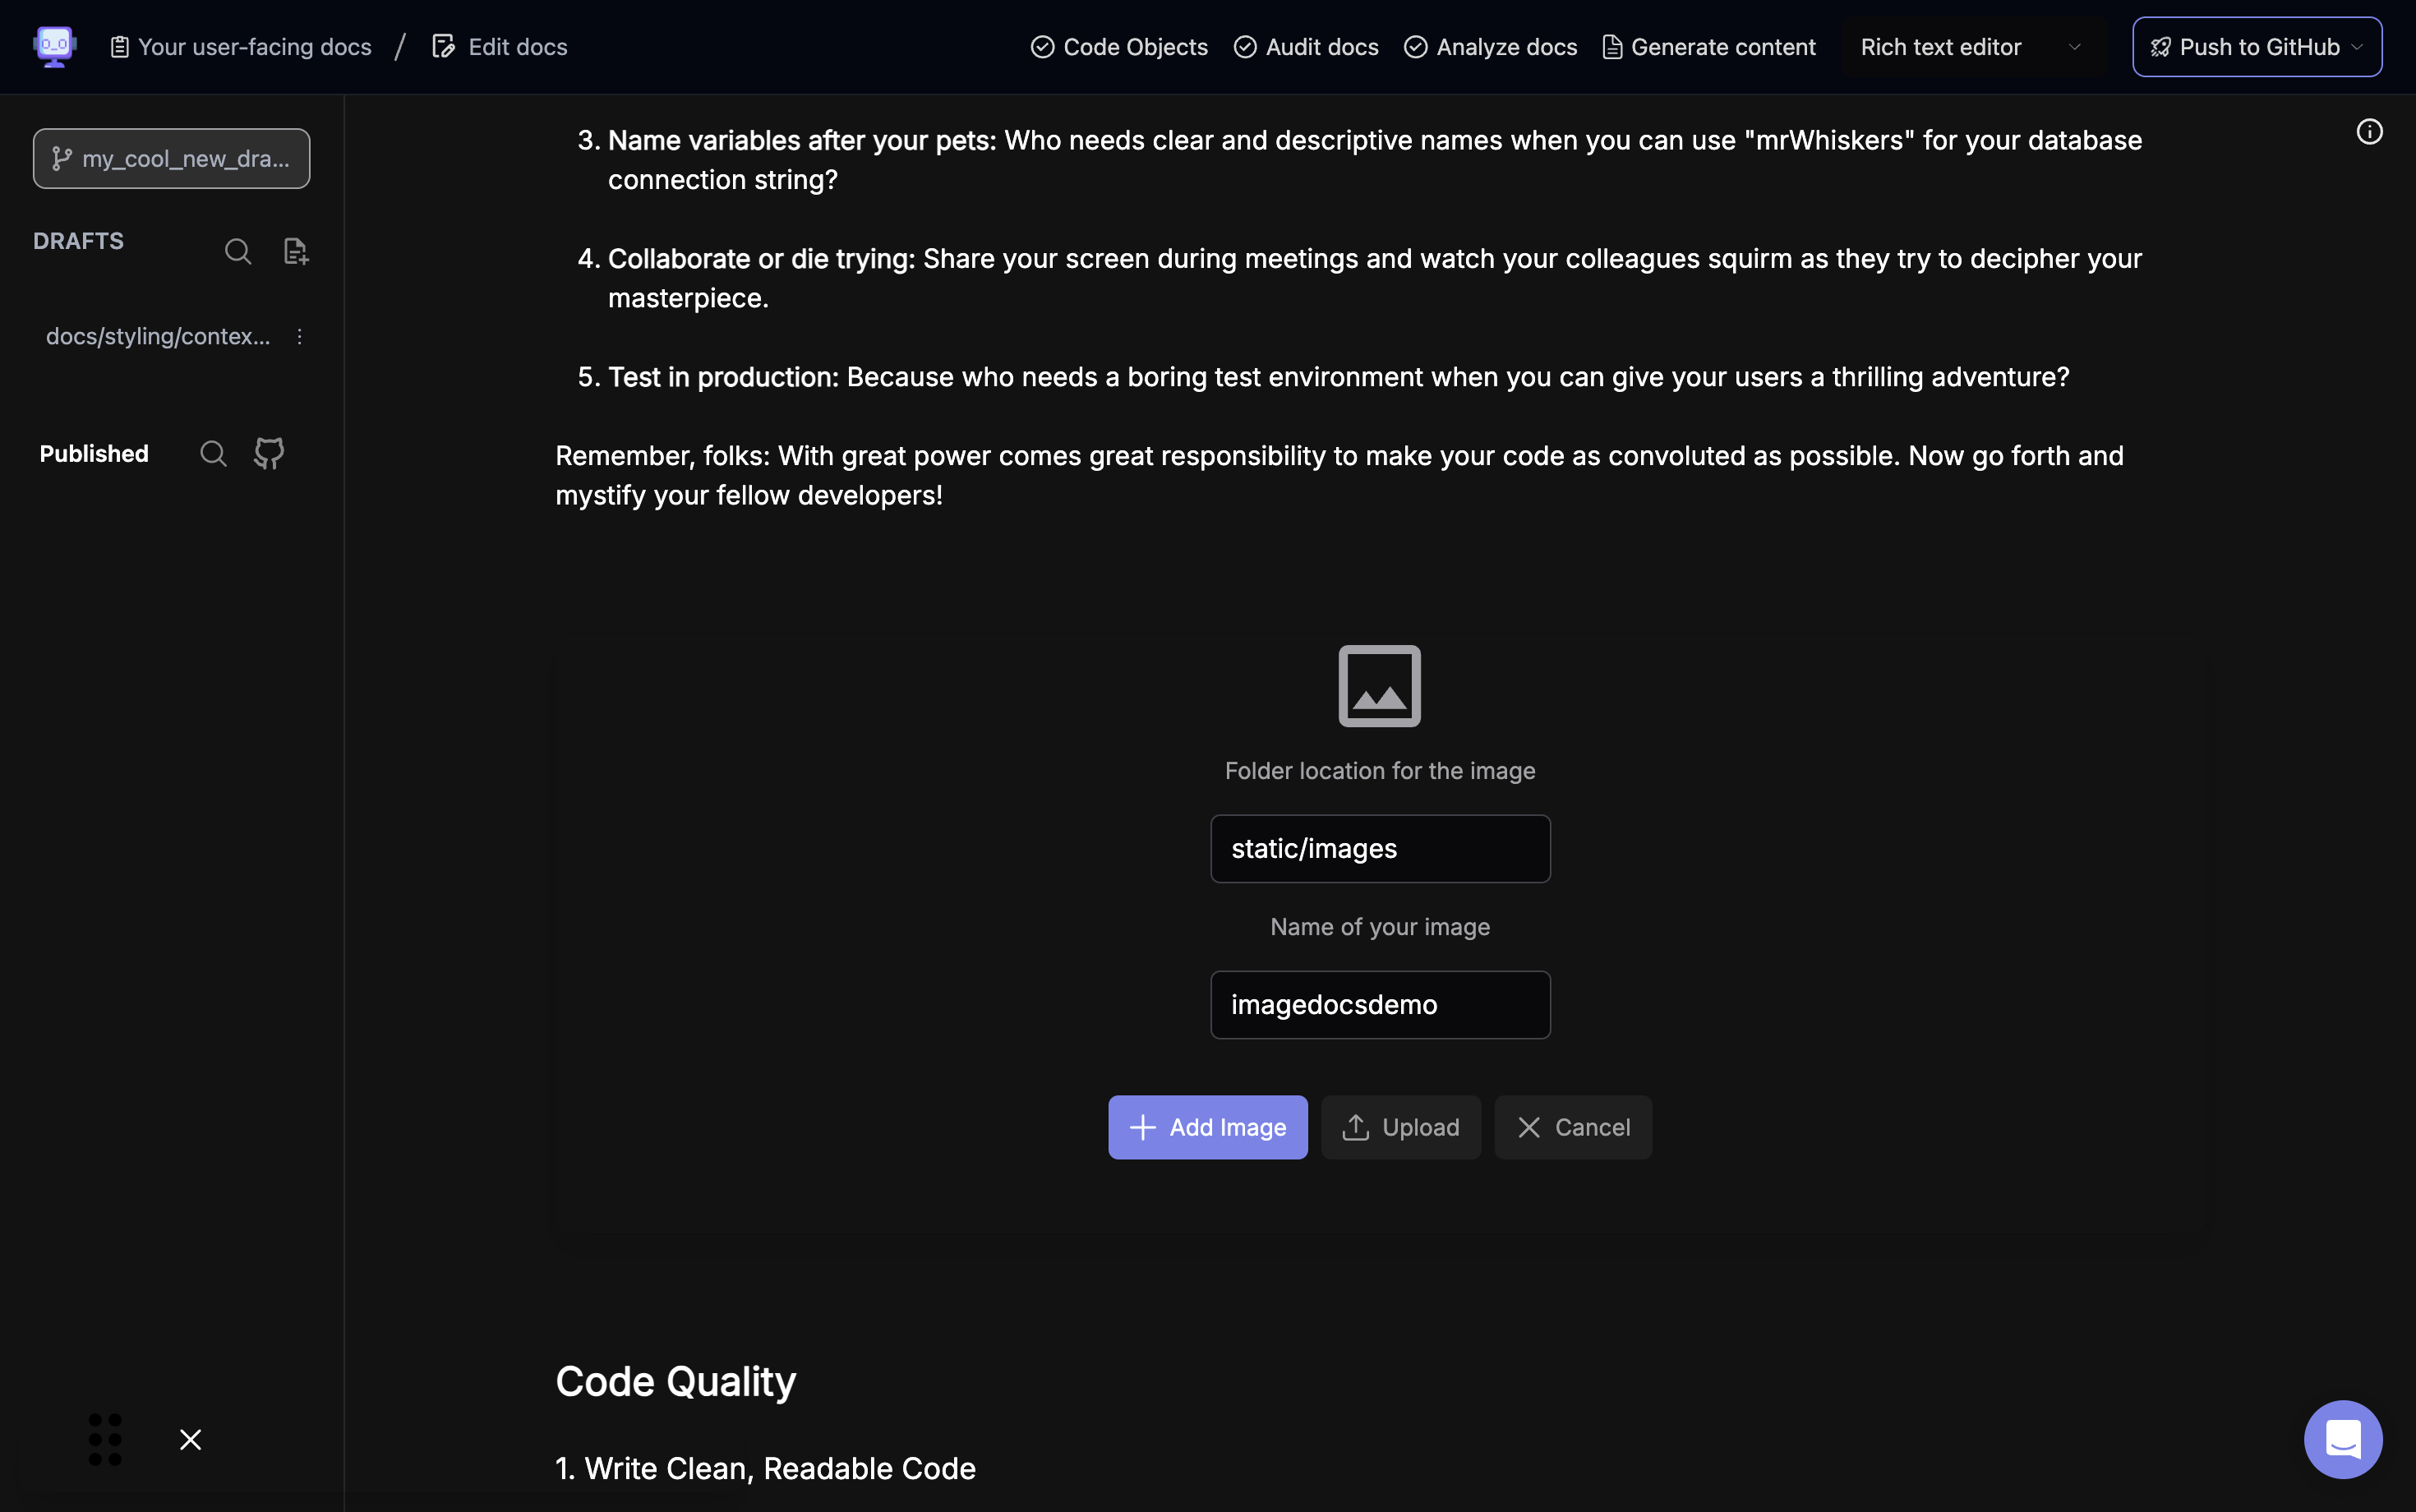
Click the "Add Image" button to proceed with adding the image.
Step 8: Choose Image File
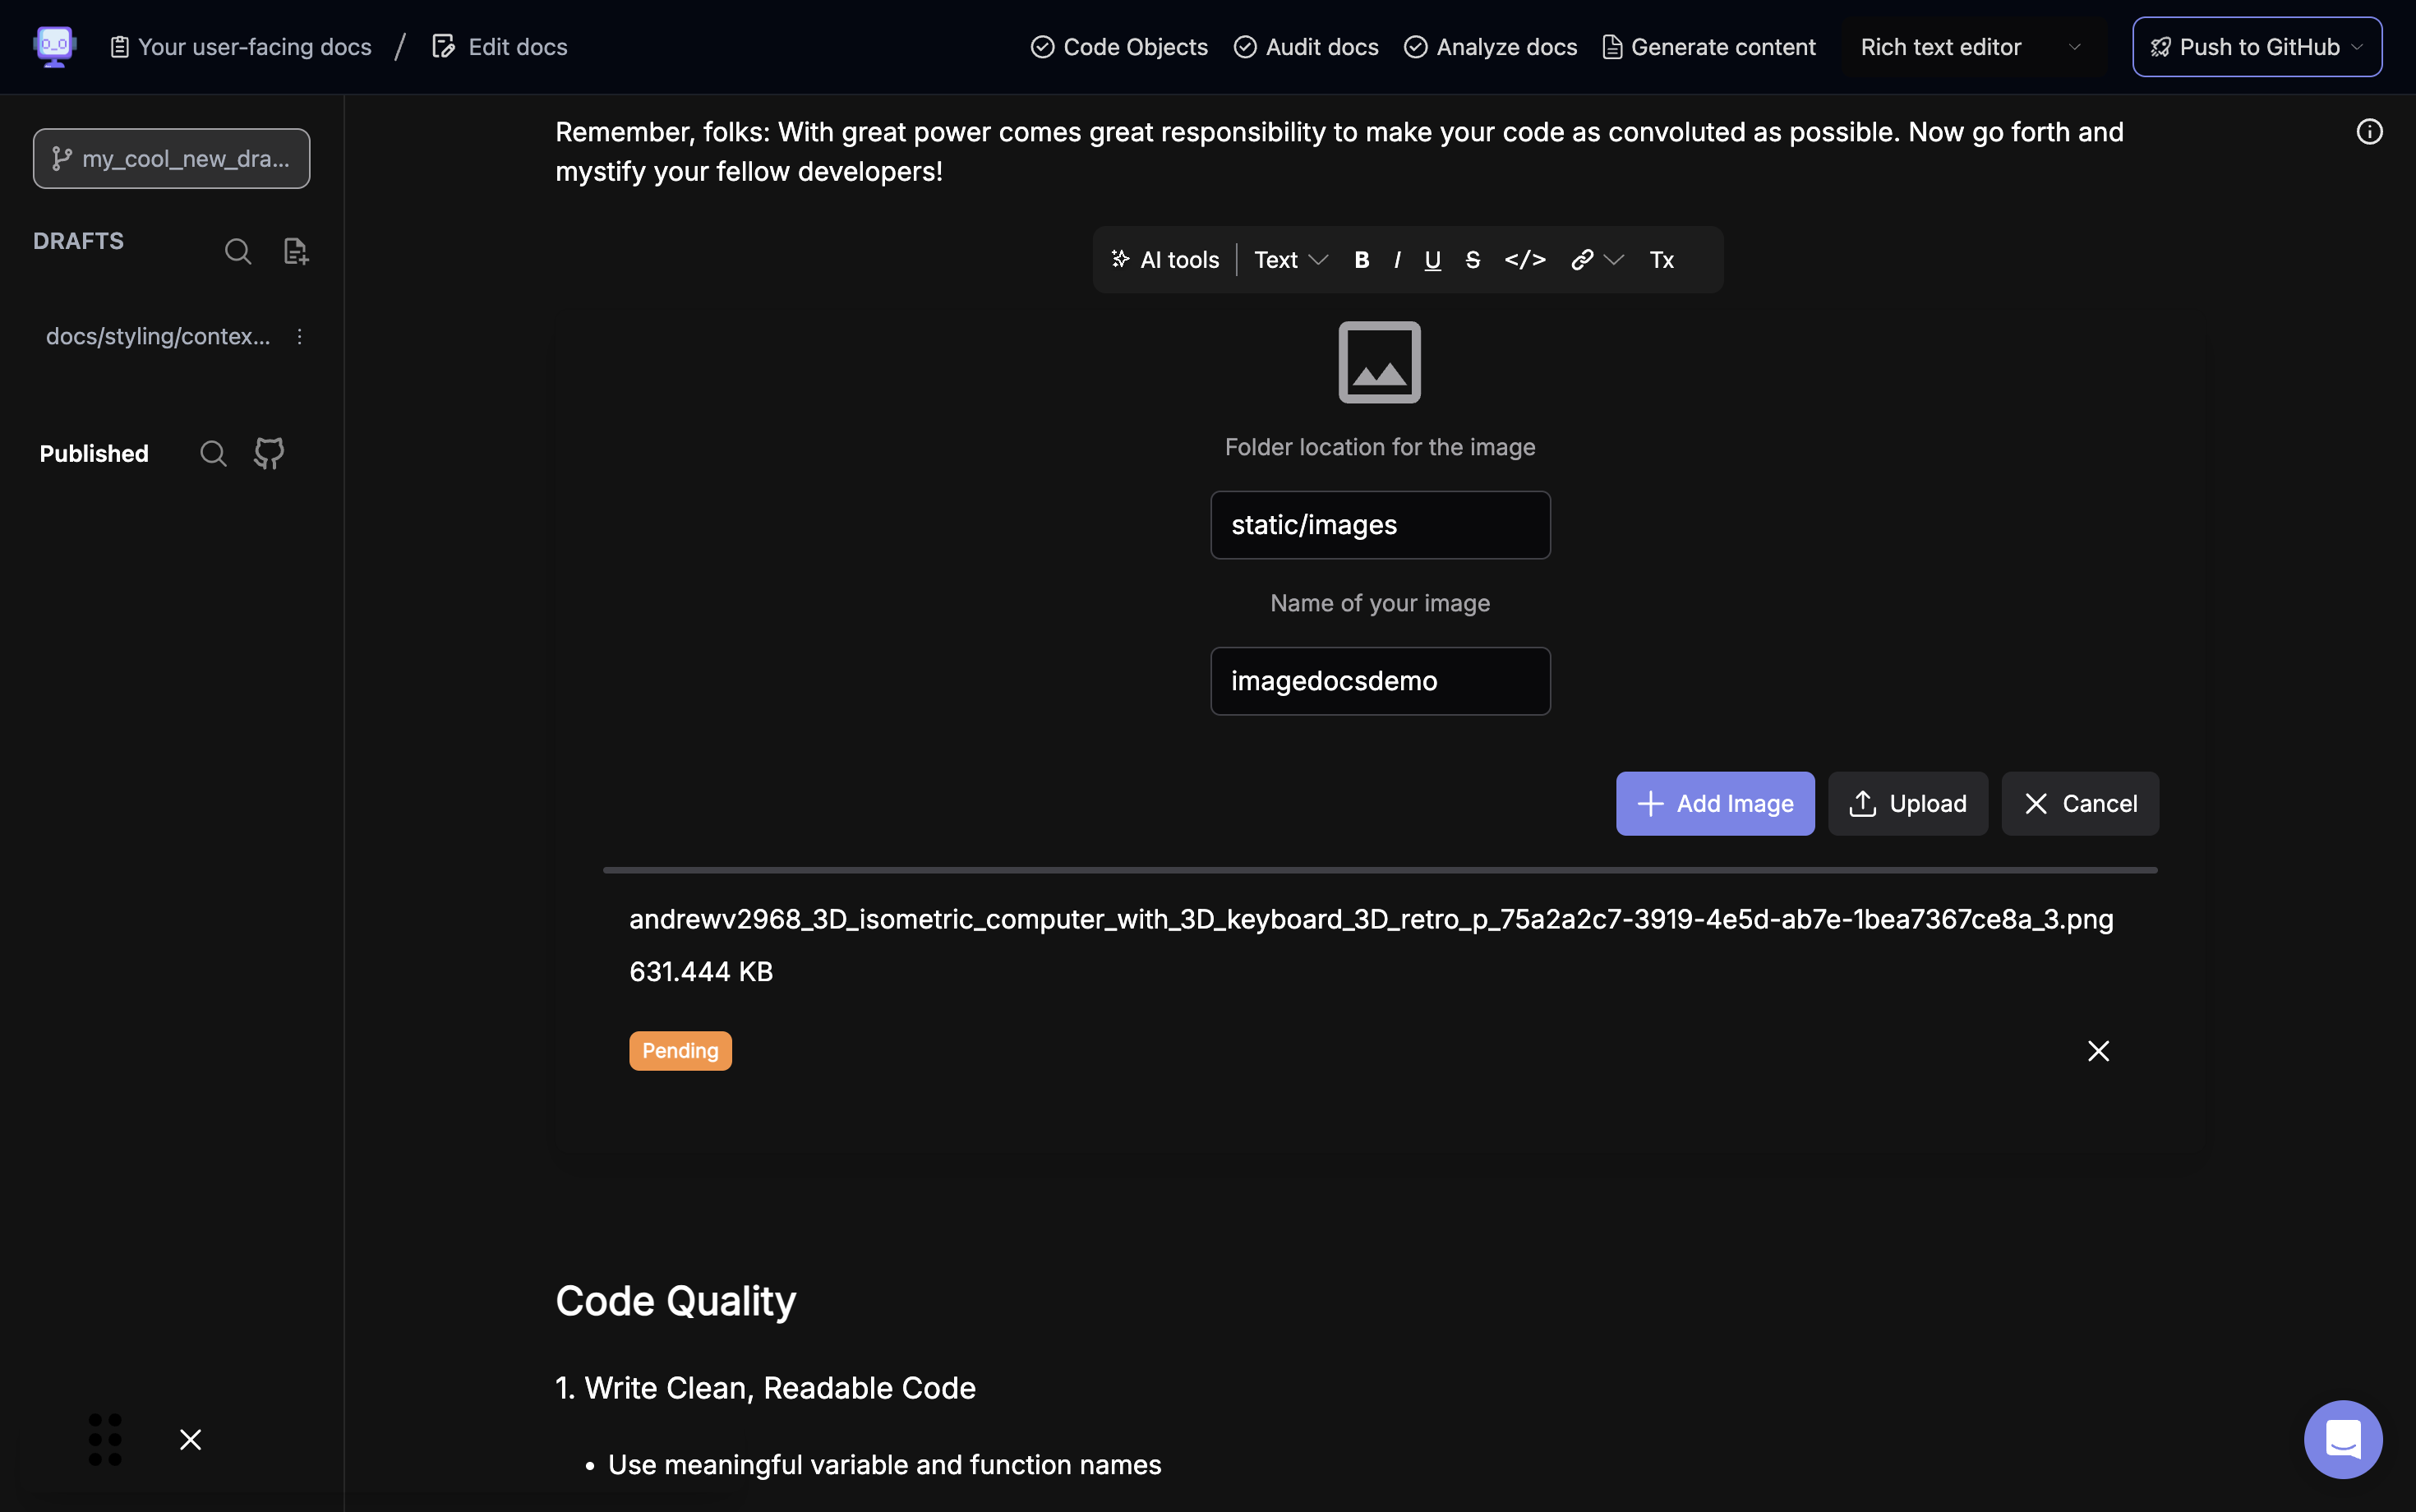
A file selection dialog will open. Choose the image file you want to upload from your computer.
Step 9: Monitor Upload Progress
The image will begin uploading. You'll see a "Pending" status indicator.
Step 10: Observe Image Placeholder
Once uploaded, a placeholder for the image will appear in your document.
Step 11: View Inserted Image

The uploaded image will now be displayed in your document at the selected location.
Step 12: Adjust Image Properties (Optional)
After the image is inserted, you can adjust its properties such as size, alignment, and alt text. Right-click on the image and select "Image Properties" to make these adjustments.
Step 13: Add Image Caption (Optional)
To add a caption, click below the inserted image and type your caption text. You can format this text using the available styling options to make it stand out as a caption.